Quiero enseñar como he hecho un puente de una forma bastante sencilla. No es perfecto pero creo que me ha quedado bastante bien :)
I want to saw how I have done a bridge in an easy way. It is not perfect but I think It is quite good :)

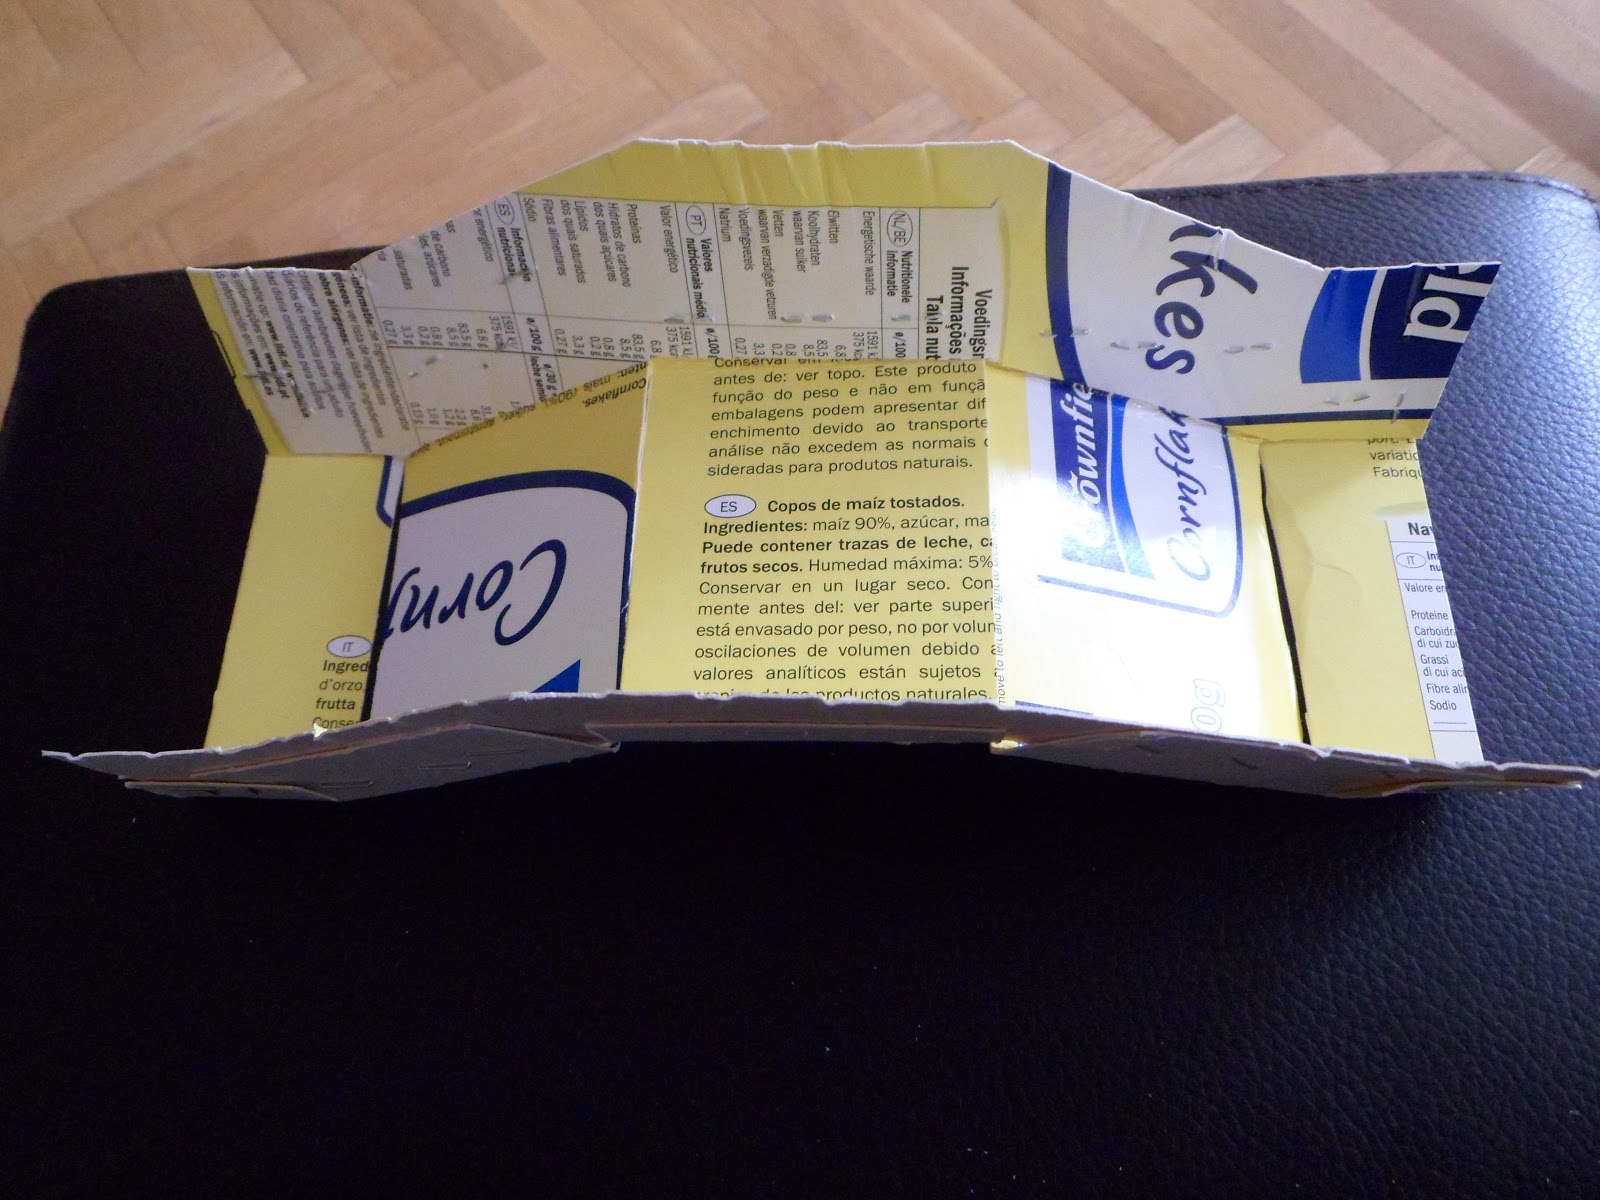
Primero cortamos las piezas básicas que nos van a servir de guía de una caja de cereales (o similar)
First of all we must cut a cereals carton (or similar) to create the guide piezes

Debemos contruir la estructura del puente uniendo las piezas
We must build the bridge structure with the piezes


Hay que empezar a cubrir las paredes de cartón con pasta Das / Jovy (o similar) de forma irregular, ya que la superficie de las piedras del puente son irregulares (la presión de los propios dedos ayuda a ello). Con una herramienta dibujamos en la pasta los bordes de las piedras que formarían el puente.


Imprimamos el puente, para ello lo pintamos todo de negro con la pintura (acrílica) bastante líquida. De esta forma tendremos una base y la pintura entra en todas las zonas y si luego nos dejamos algo sin pintar no se notará.


Pintamos el puente con un gris acrílico que nos sirva para simular el color de la piedra.


Daremos sombras al puente. Mezclamos pintura acrílica negra (o gris más oscuro) con mucha agua (muy líquido) y pintamos todo el puente de nuevo. La pintura tan líquida se meterá en las partes más profundas y creará el efecto sombra


Ahora solo nos falta dar las luces, para ello vamos a usar la técnica del "pincel seco".
- Usamos pintura gris suave (mezclamos el gris base con blanco)
- Usamos un pincel totalmente seco (punta recta)
- Con el pincel tomamos un poco de pintura, muy muy poca y damos en un papel o servilleta hasta que parezca que ya no queda.
- Entonces damos la pintura en el puente. La poca pintura que queda se va a quedar en las partes más sobresalientes del puente, creando el efecto de luz.
- We use a softer grey (we can mix the base grey with white)
- We use a fully dry brush
- We take some paint and we paint in a peace of paper till we think there is no more paint in the brush
- Then We paint the bridge. The few paint will paint the most external parts creating lights


No hay comentarios:
Publicar un comentario